Devlog 4: Presentation and Graphics
In this fourth devlog, we will focus on presentation and graphics.
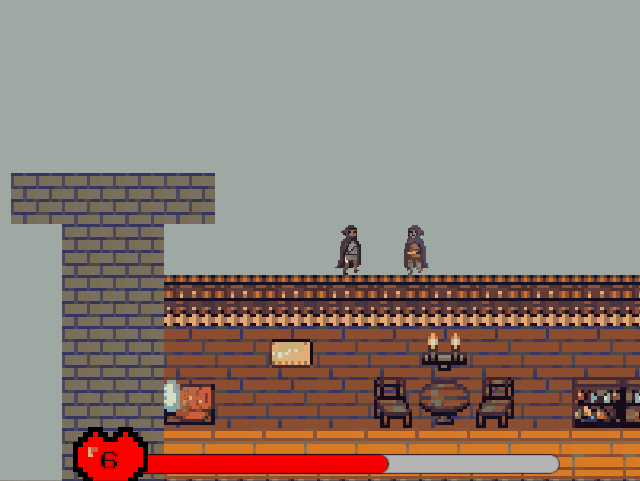
To animate the enemies, I used an animation controller and blend trees. The animation controller switched between states depending on whether the enemy was attacking the player or patrolling. Whether the left-facing or right-facing enemy patrol and attack animations are played by the blend trees is down to the enemy’s direction of motion, which is accessed by the animator while the enemy’s velocity is calculated. To create the animations, I first sliced sprite sheets of the two enemy types. I then created animation clips for each scenario. A possible improvement would be for the enemies to face the player while attacking them regardless of their prior direction of movement.
I wanted to player to be in a warm haze at a certain altitude. This was implemented with a post-process volume attached to a game object at the top of each level, covering the target area with a box collider. I used the temperature, colour filter, and gamma properties of the post-process profile to get the warm haze colour. I used the blend distance property of the post-process volume to make a gradual transition into the haze.

I wanted to have particles coming out of the health potions to distinguish them from background sprites in the level. I implemented this by creating a child game object with the particle effect component. Because the default circular particles don’t fit with the game aesthetic, I replaced them with mini squares. To make the particles look better, I put the order in layer of the particle effect in front of the health potion image so the particles would go in front of the bottle. I also increased the gravity modifier from 0 so the particles appear to fall slightly and don’t just fan out.
