Tutorial 5
In this week's tutorial, I affected the camera animations and visual effects of the scene with Post Processing and Cinemachine.
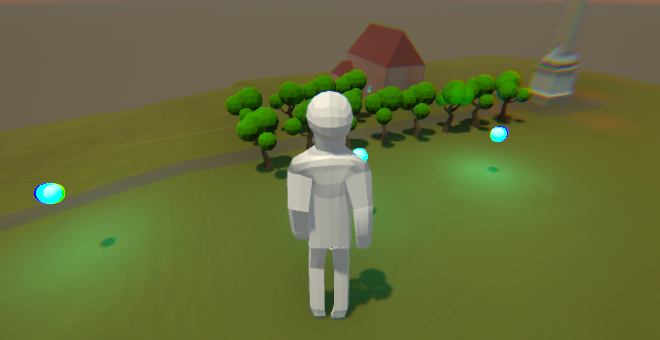
Post Processing is a neat rendering technique that gives you great flexibility in changing the visual appearance of your scene through the camera. Firstly,I added a Post Porcessing Layer component onto the scene camera. Then, I added a Post Processing Volume to the player object. This determines when the Post Porcessing Profile attached on the Volume is applied (in this case, globally). The Profile are a list of effect modules and their parameters which you want applied. For the Profile in effect here, I used Vignette to darken the corners, Lens Distortion, Chromatic Aberration for the fraying near the edges, ambient occlusion, and colour grading to give the picture a brighter hue.
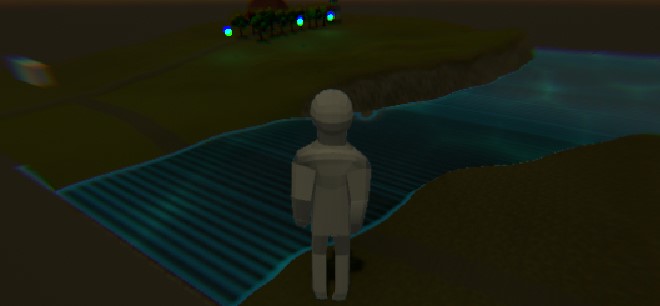
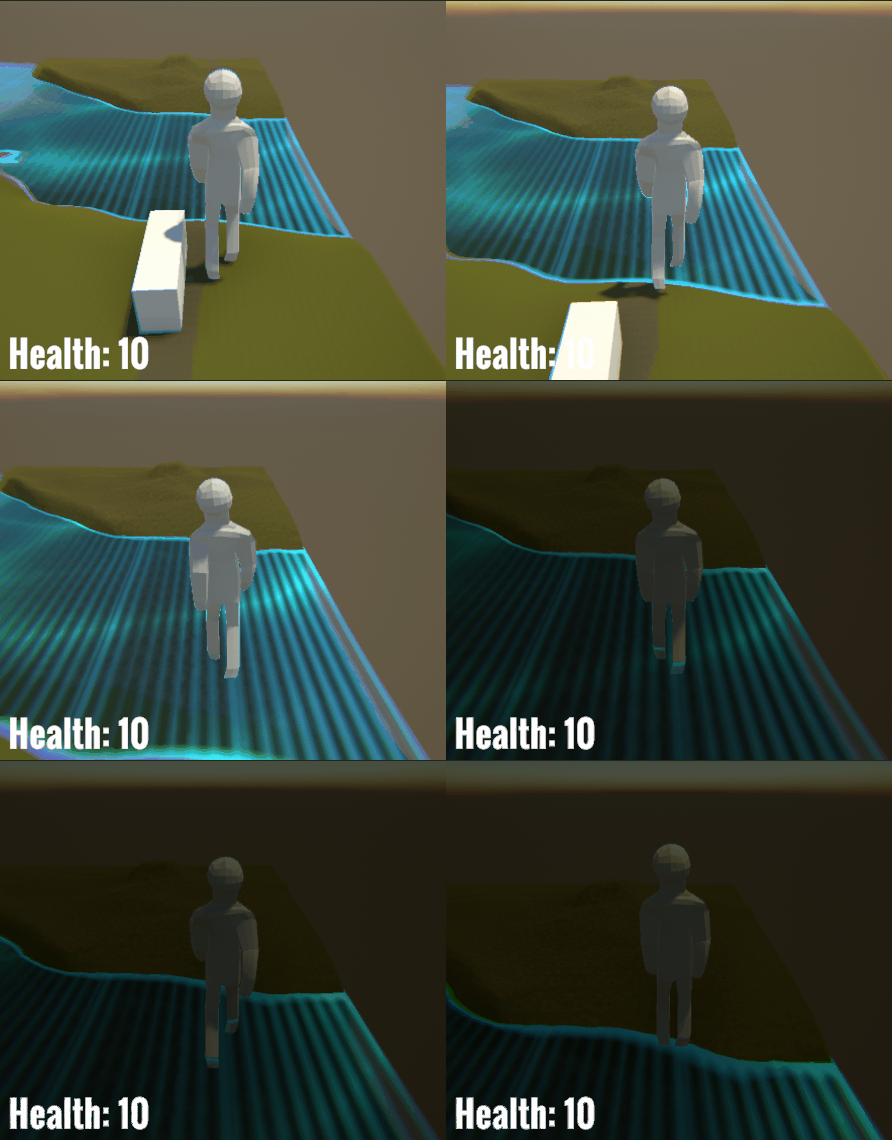
In this picture, a local post processing profile is being applied on top of the profile displayed above. The post process layer triggering the profile is on a gameobject with a trigger box collider covering this part of the terrain. The profile itself contains a Color Grading module with active post-exposure (essentially brightness) set low.
The Aim parameters on a VC can be used to smooth camera reactions, change the position of the target object on the screen, and more. I used it to make the camera reactions slightly more delayed.
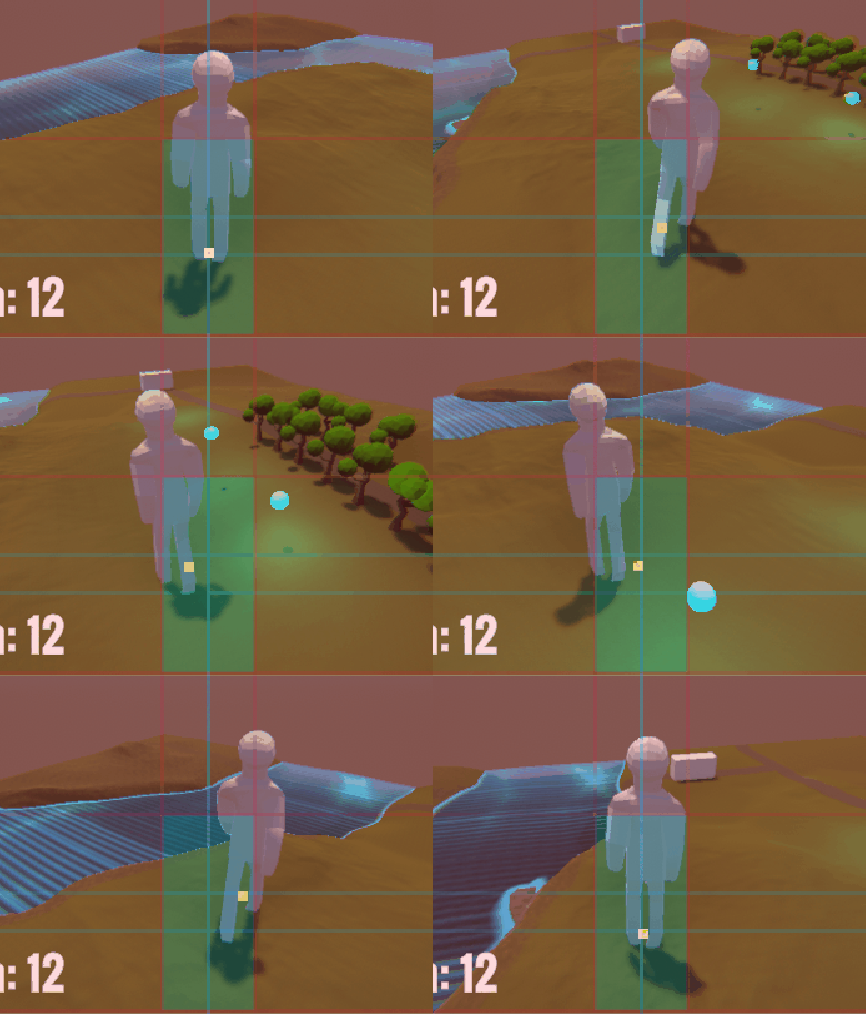
In a zone around the obelisk, I created a trigger that would increase the priority of a dolly camera with track over my transposer virtual camera, which freely followed the player position. Dolly cameras move the camera on a 'track' to follow the player when they are active.
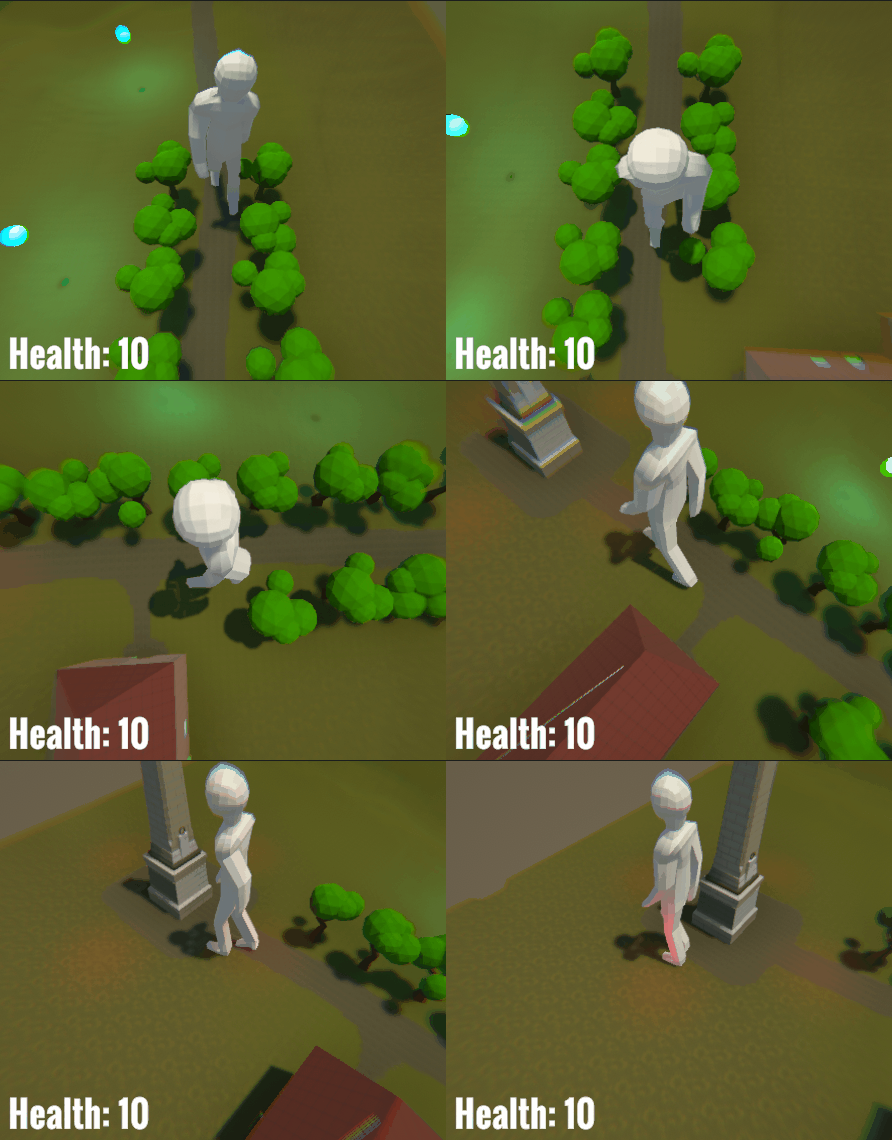
The player being followed by the dolly camera
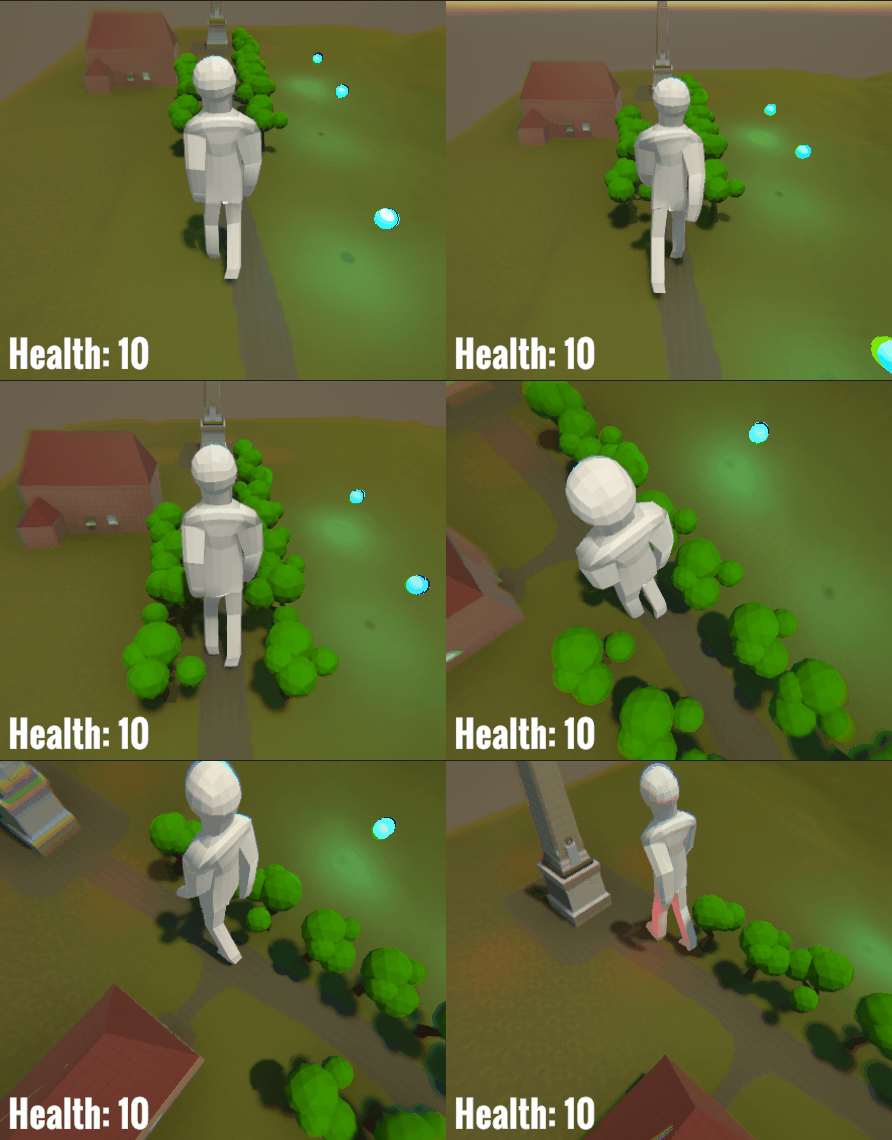
The camera transitioning from the transposer VC to the dolly VC
The player is seen here transitioning into the local post processing volume. There is a 'blend' property that gradually applies the transition outside the object's box collider.
And that's all for this week. :)
UTAS KIT207 Portfolio
Portfolio content for the KIT207 Game Design and Production course
| Status | In development |
| Category | Other |
| Author | Sutherwin |
More posts
- Self Study 5Apr 13, 2024
- Game IdeasApr 04, 2024
- Self Study 4Apr 04, 2024
- Tutorial 3Mar 24, 2024
- Self Study 3Mar 22, 2024
- Tutorial 2Mar 22, 2024
- Self Study 2Mar 14, 2024
- Tutorial 1Mar 14, 2024
- Self Study 1Mar 07, 2024